
Why Your Homemade Stock Lacks Flavor (And The Deeply Savory Secrets That Changed Everything For Me)
Every time I watched a cooking show, the chefs would wax poetic about their rich, amber homemade stock. “The foundation of all good cooking!” they’d exclaim. Meanwhile, my own attempts at stock, while certainly better than plain water, always tasted… polite. A bit watery. Lacking that profound, soul-warming depth that transforms a soup or sauce from ‘nice’ to ‘memorable.’ I was diligently following recipes: bones, aromatics, water, simmer. So why did my stock always fall short of that deeply savory, almost caramelized flavor I craved?
It took years of trial, error, and a fortunate conversation with a seasoned professional chef to realize I was missing several crucial, yet non-obvious, steps. It wasn’t just about ingredients; it was about technique and patience, applied in very specific ways that most home cooks (myself included) completely overlook. What changed everything for me wasn’t a magic ingredient, but a complete overhaul of my approach, transforming my polite broths into robust, flavor-packed liquid gold.
Key Takeaways
- Roast your bones and vegetables deeply until dark golden brown for maximum flavor extraction.
- Deglaze your roasting pan with wine or water to capture every last bit of concentrated fond.
- Add a splash of acid, like apple cider vinegar, early in the simmer to help extract minerals and collagen.
- Simmer low and slow, uncovered initially, and skim impurities meticulously for clarity and purity of flavor.
The Fundamental Mistake: Not Roasting Deeply Enough
This was my absolute biggest oversight for years. Recipes would say, “Roast bones until browned.” I’d brown them. A nice golden hue, maybe 20-30 minutes. But a professional chef once told me, “You’re not roasting until it feels like you’ve gone too far.” That statement changed my stock game forever.
Think about it: those dark, crusty bits that stick to the bottom of your roasting pan? That’s pure flavor concentrate, known as ‘fond.’ If your bones and vegetables (carrots, celery, onions) are only lightly browned, you’re leaving a significant amount of potential flavor on the table.
What actually works: Instead of a gentle brown, aim for a deep, dark golden-brown, almost bordering on burnt in spots (but not actually burnt). This often means roasting bones for 45-60 minutes, or even 90 minutes for larger beef bones, at a higher temperature like 425°F (220°C). Flip them halfway through to ensure even browning. Your kitchen will smell incredible. The vegetables should also be deeply caramelized. This Maillard reaction is the single most important step for developing that rich, complex savoriness.
The Overlooked Power of Deglazing the Pan
Once those bones and vegetables are deeply roasted, don’t just dump them into your stock pot. All that dark, sticky fond clinging to the bottom of the roasting pan is a goldmine. This is where deglazing comes in, and I used to skip it entirely or do it half-heartedly.
What actually works: After removing the roasted bones and vegetables from the pan, place the pan on your stovetop over medium-high heat. Pour in about a cup of dry red wine (for beef/lamb stock) or dry white wine (for chicken/vegetable stock), or simply water or broth if you prefer to avoid alcohol. Immediately, use a flat-edged wooden spoon or spatula to aggressively scrape up every single browned bit from the bottom of the pan. The liquid will sizzle and turn a deep, murky brown. Let it simmer and reduce by about half, concentrating that flavor. This dark, rich liquid is packed with flavor and must go into your stock pot along with everything else. This step alone adds a layer of depth that simply cannot be achieved otherwise.
The Acid Trick: A Splash of Vinegar
This was another revelation. Most recipes call for water, maybe a bay leaf, and then you just simmer. But how do you get all that good stuff out of the bones? Especially the collagen, which gives stock its body and mouthfeel, and the minerals that contribute to its nutritional value and deeper flavor profile.
What actually works: Early in the simmering process, after you’ve added your roasted bones, vegetables, deglazing liquid, and enough cold water to cover everything, add one to two tablespoons of apple cider vinegar. Don’t worry, your stock won’t taste like vinegar. The acidity helps to gently break down the connective tissues and draw out more collagen, gelatin, and minerals from the bones. This results in a thicker, more flavorful, and more nutritious stock. I typically add it right after filling the pot with water, before bringing it to a simmer. It’s a small addition with a huge impact on the final product.
The Patience Paradox: Low, Slow, and Uncovered (Initially)
I used to think a rolling boil would speed things up. Or covering the pot would prevent evaporation. Both are detrimental to a truly flavorful, clear stock.
What actually works:
- Start with cold water: Always cover your ingredients with cold water. This allows impurities to rise to the surface slowly as the water heats, making them easier to skim.
- Bring to a gentle simmer: Never boil your stock. A rapid boil emulsifies fats and impurities back into the liquid, leading to cloudy, greasy, and less flavorful stock. Aim for a bare whisper of bubbles – barely perceptible movement on the surface. For chicken stock, 3-4 hours is often enough. For beef, I’ll go 8-12 hours, sometimes even longer for an incredibly rich result.
- Skim, skim, skim: In the first hour or two of simmering, a foamy scum will rise to the surface. This contains impurities that can make your stock cloudy and give it an off-flavor. Use a ladle or fine-mesh skimmer to meticulously remove this foam. This is crucial for clarity and clean flavor.
- Simmer uncovered (initially): While it feels counter-intuitive to let liquid evaporate, simmering uncovered for at least the first hour or two helps reduce some of the water and concentrate flavor, especially after you’ve skimmed. After the initial skimming, if you want to minimize further reduction, you can place the lid slightly ajar to allow some steam to escape but slow evaporation.
Strain and Reduce for Maximum Impact
Once your stock has simmered for the desired time, the work isn’t quite done. The way you strain and handle it afterwards can also impact its final flavor and versatility.
What actually works:
- Gentle straining: Don’t press or squeeze the solids when straining. This can release bitter flavors and make your stock cloudy. Simply let it drain through a fine-mesh sieve lined with cheesecloth. If you want a perfectly clear consommé, you can even strain it again through new cheesecloth or a coffee filter once it’s cooled.
- Cool properly: Once strained, cool the stock quickly. An ice bath can help, or divide it into smaller containers before refrigerating. This prevents bacterial growth. Once cold, a layer of fat will solidify on top. This fat acts as a natural seal and can be easily removed before use, leaving you with pure, gelatinous stock.
- Reduce for intensity (optional but recommended): For an even more concentrated flavor, especially if you plan to freeze it in small portions, reduce the strained stock. Simmer it gently in a clean pot until it’s reduced by half or even two-thirds. This creates a deeply flavorful base that takes up less freezer space and provides an intense flavor boost to any dish.
By incorporating these specific techniques – especially the deep roasting, deglazing, and the touch of acid – my homemade stock transformed from merely acceptable to profoundly delicious. It’s these often-missed details that elevate a good stock to a truly great one, and they are now non-negotiable steps in my kitchen.
Frequently Asked Questions
Can I use store-bought bones for stock?
Yes, absolutely. Butcher shops often sell ‘soup bones’ or ‘marrow bones’ at a reasonable price, which are excellent. You can also save chicken carcasses, beef ribs, or any bones from roasted meats in your freezer until you have enough for a batch of stock. The key is to get enough bone and connective tissue for gelatin, and then to roast them well yourself.
How long can I store homemade stock?
Freshly made stock can be stored in an airtight container in the refrigerator for 3-4 days. For longer storage, freeze it. I like to freeze mine in 1-cup portions in freezer-safe containers, or even in ice cube trays for smaller, concentrated amounts. Frozen stock can last for 3-6 months, sometimes longer, without significant loss of quality.
What kind of vegetables should I use in my stock?
Classic aromatics include onions, carrots, and celery (the ‘mirepoix’). You can also add leek greens, garlic cloves (unpeeled), and parsley stems. Avoid cruciferous vegetables like broccoli or cabbage, as they can impart a bitter or sulfurous flavor. Use vegetable scraps you’ve saved in the freezer for an eco-friendly approach.
Do I need to add salt to my stock?
Generally, no. It’s best to keep your stock unsalted, especially if you plan to reduce it. This allows you to control the seasoning of your final dish. If you salt the stock initially and then reduce it, it can become overly salty.
What’s the difference between stock and broth?
While often used interchangeably, traditionally, stock is made primarily from bones, which contribute gelatin and a richer mouthfeel. Broth is typically made from meat and/or vegetables and simmered for a shorter period, resulting in a lighter flavor. My methods here are aimed at producing a true, deeply flavorful stock with body and richness.
Crafting deeply flavored stock isn’t about magic; it’s about understanding the science of flavor extraction and applying a few key, often overlooked, techniques. By committing to deep roasting, deglazing, a touch of acid, and a patient, gentle simmer, you’ll unlock a depth of flavor that will elevate all your cooking. Start saving those bones, invest a little time, and taste the difference. Your soups, sauces, and braises will thank you for it.
Written by Emily Chen
Well-being & Relationships
A community advocate who understands the nuances of balancing personal goals with social connections and responsibilities.
You Might Also Like

Why Your Homemade Pizza Lacks That Perfect Crisp (And The Pro Secrets That Deliver Pizzeria-Quality Crunch Every Time)
Unlock the secrets to truly crispy homemade pizza crust. Stop soggy bottoms and learn what works for pizzeria-quality crunch.
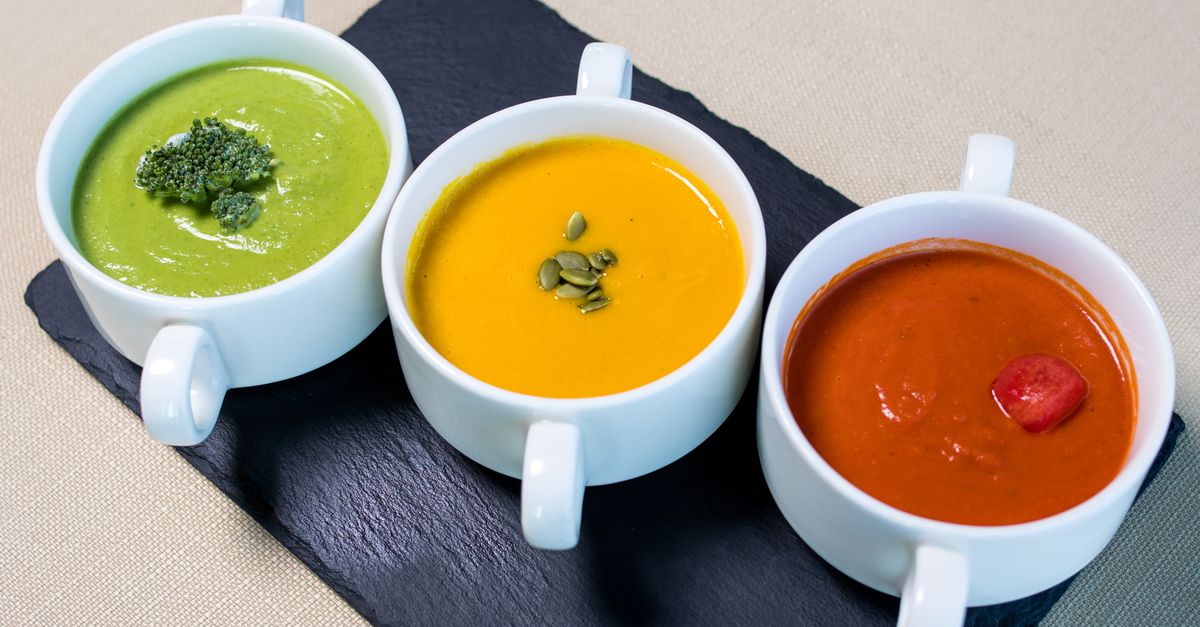
Why Your Homemade Soup Is Bland (And The Flavor Secrets That Changed Everything For Me)
Discover the overlooked reasons your homemade soup lacks flavor and the simple, impactful techniques that transform it into a culinary masterpiece.

Why Your Homemade Pizza Isn't Crispy (And The Pro Secrets That Deliver Pizzeria-Quality Crunch Every Time)
Stop soggy pizza! Discover why homemade crusts lack crispness and learn the pro secrets for pizzeria-quality crunch every time.