Why Your Homemade Pizza Lacks That Perfect Crisp (And The Simple Pro-Secrets That Deliver Pizzeria-Quality Crunch Every Time)
Picture this: it’s Friday night, you’ve decided to ditch the takeout menu, and you’re making homemade pizza. The smell of baking dough and melting cheese fills your kitchen – pure heaven. But then, you pull it out of the oven, slice into it, and… thud. Your crust is soft, maybe a little soggy, definitely not the crispy, crackly base you crave. You’ve followed recipes, used good ingredients, but that elusive pizzeria-quality crunch remains a dream. I’ve been there, more times than I care to admit, serving up pizza that tasted great but felt structurally unsound. It’s frustrating when your efforts don’t yield the professional result you’re aiming for, especially with something as universally loved as pizza.
Over years of experimenting, countless burnt fingertips, and a few truly disastrous attempts, I’ve discovered that achieving that perfect pizza crisp isn’t about some secret ingredient only available in Naples. It’s about understanding a few fundamental principles often overlooked in standard home recipes. The mistake I see most often is that people focus too much on the dough itself, without considering the environment and tools that make or break the crust. What changed everything for me was shifting my focus from just the ingredients to the heat, surface, and moisture management during the baking process. If you’re tired of limp crusts and yearning for a satisfying crunch, let’s dive into what actually works.
Key Takeaways
- Preheating your pizza stone or steel to an extremely high temperature (500-550°F) for at least 45-60 minutes is crucial for an instant crisp.
- Use a pizza stone or steel, not just a baking sheet, to transfer intense heat directly to the crust for rapid cooking and bubbling.
- Manage dough hydration carefully, aiming for a slightly lower hydration for crispier crusts, and avoid overloading toppings.
- Launch your pizza quickly and efficiently onto the preheated surface to prevent temperature drops and ensure even cooking.
The Unsung Hero: Extreme Heat is Non-Negotiable
Most home ovens, even when set to their maximum, rarely reach the consistent, intense temperatures of a commercial pizza oven. This temperature deficit is the single biggest reason why homemade pizza often lacks crisp. A true Neapolitan pizza bakes in 60-90 seconds at 900°F. Your home oven simply can’t replicate that, but you can get surprisingly close to the effect of that intense heat transfer. The common mistake is simply preheating the oven to 450-500°F and popping the pizza in on a cold tray. This allows the dough to slowly warm up, steam, and become chewy or even soggy, rather than instantly crisping.
In my experience, you need to push your oven to its absolute limit, typically 500-550°F, and maintain that temperature for an extended period before the pizza even goes in. This isn’t just about the air temperature; it’s about saturating your baking surface with heat. I set my oven to 550°F and let my pizza steel (more on this later) preheat for a full hour. Sometimes even 90 minutes. This ensures that when the pizza hits the surface, it’s subjected to an immediate, powerful burst of heat that rapidly crisps the bottom crust and initiates that beautiful oven spring. Think of it like searing a steak – you need a screaming hot pan for a good crust. The same applies to pizza. Anything less, and you’re just steaming your dough.
Your Baking Surface: Ditch the Sheet, Embrace the Stone (or Steel)
This is another game-changer that most home cooks overlook. A standard metal baking sheet, even if preheated, simply doesn’t retain and transfer heat with the same efficiency as a good pizza stone or, even better, a pizza steel. Aluminum is a decent conductor, but it radiates heat slowly. Stone and steel, however, act as thermal batteries.
A pizza stone is a porous ceramic or cordierite surface that absorbs and retains heat exceptionally well. Its porosity also helps absorb some moisture from the dough, further aiding crispness. A pizza steel is an even more efficient option. Steel conducts heat far better than stone, heating up faster and transferring that intense heat more aggressively to your crust. This results in an even crispier bottom and a more pronounced ‘oven spring’ – that initial puffing up of the crust as it hits the heat.
My personal go-to is a 1/4-inch thick pizza steel. I position it on the top rack of my oven, as close to the broiler element as possible, allowing for maximum heat from both below and above. The instant the pizza touches that blazing hot steel, the bottom starts crisping immediately. I’ve found that this setup makes a noticeable difference, transforming my pizzas from ‘pretty good’ to ‘restaurant quality’ in terms of crust texture. If you’re serious about crispy pizza, investing in a pizza steel (they last forever!) is one of the best kitchen decisions you can make.
Dough Hydration and Topping Management: Less is Often More
While good dough is essential, even the best dough can be sabotaged by poor hydration or overloaded toppings when aiming for crispness. Many popular homemade pizza dough recipes call for relatively high hydration (70% or more water to flour ratio) for a softer, chewier crust. While delicious, this can work against crispness in a home oven. For a truly crispy crust, I often aim for a slightly lower hydration dough, around 60-65%. This makes the dough a bit stiffer and easier to handle, but crucially, it has less water to evaporate, leading to a crisper final product.
Beyond hydration, topping management is critical. The mistake I made for years was piling on too much sauce, too much cheese, and too many wet vegetables. All that moisture has to go somewhere, and often it ends up steaming your crust, turning it soggy. What changed everything for me was adopting a more minimalist approach to toppings. Use a thin layer of sauce, spread to the edge. Don’t go overboard with cheese – enough to cover, not to drown. If you’re using vegetables prone to releasing water (mushrooms, spinach, fresh tomatoes), consider pre-sautéing them to remove excess moisture or layering them under the cheese to protect the crust.
One trick I learned from a professional pizzaiolo was to par-bake problematic toppings like fresh mozzarella or certain vegetables for a few minutes on their own before adding them to the pizza. This reduces their water content and ensures they don’t leach moisture into your crust during the main bake. Remember, every gram of extra moisture is a potential enemy of crispness.
The Launch: Speed and Confidence Matter
Once your dough is stretched, topped appropriately, and your oven and baking surface are screaming hot, the final critical step is the launch. A slow, hesitant launch can drop the temperature of your stone or steel, leading to a less-than-ideal initial crisp. It can also cause the dough to stick, leading to a mangled pizza that’s impossible to salvage.
In my experience, a well-floured wooden or composite pizza peel is your best friend here. Dust the peel generously with semolina flour (which acts like tiny ball bearings) or a mix of all-purpose flour and cornmeal. Stretch your dough directly on the peel, add your minimal toppings quickly, and then, with a confident, swift motion, slide the pizza off the peel and onto the preheated stone or steel. Don’t dither. The quicker the launch, the less time the dough has to absorb moisture from the toppings and stick to the peel, and the less heat your baking surface loses.
If you find your dough sticking, you’re either working too slowly, using too many wet toppings, or not using enough flour on the peel. Practice with a plain dough circle first if you’re nervous. What changed everything for me was realizing that a quick, decisive launch was almost as important as the preheated surface itself. It creates that instant shock of heat that sets the crust and prevents it from turning into a sad, steamy mess.
Post-Bake Management: The Often-Forgotten Step
Your pizza is out of the oven, golden and bubbling. Victory! But the quest for crispness isn’t over yet. The mistake many people make is cutting the pizza immediately on the same surface it was baked on, or worse, directly on a solid cutting board. This traps residual steam and heat beneath the crust, quickly turning a beautifully crisp base into a soggy one.
What actually works is to immediately transfer the hot pizza to a wire cooling rack the moment it comes out of the oven. This allows air to circulate freely around the bottom of the crust, preventing steam buildup and preserving that hard-earned crispness. Let it rest for a minute or two on the rack before slicing. This brief rest not only allows the crust to ‘breathe’ but also helps the cheese set slightly, preventing it from sliding off with the first cut.
I’ve seen firsthand the difference this simple step makes. A pizza that felt perfectly crisp coming out of the oven can lose its structural integrity in minutes if left on a solid surface. This small habit ensures that every slice delivers that satisfying crunch you’ve worked so hard to achieve.
Frequently Asked Questions
Q: My crust is still soggy in the middle, even with a stone and high heat. What am I doing wrong?
A: This is usually due to too much moisture. Double-check your dough hydration – try reducing it slightly. Also, critically evaluate your toppings: are you using too much sauce or too many wet ingredients? If using fresh mozzarella, consider dabbing it dry with a paper towel or even par-baking it for a few minutes before adding it to the pizza. Ensure your oven and stone/steel are fully preheated for at least 45-60 minutes at the highest possible temperature (500-550°F).
Q: Can I use a regular baking sheet if I don’t have a pizza stone or steel?
A: While a dedicated pizza stone or steel is highly recommended for optimal crispness, you can still improve results with a baking sheet. Place your heaviest baking sheet (or even an inverted cast iron pan) in the oven during the full preheating cycle (at least 45-60 minutes at maximum temperature). This will allow it to get much hotter than simply putting the pizza on a cold sheet. However, expect less intense heat transfer and potentially a slightly less crispy crust compared to a stone or steel.
Q: How do I prevent my dough from sticking to the pizza peel?
A: Generously flour your wooden or composite pizza peel. Semolina flour works best as its coarser texture acts like tiny ball bearings, allowing the dough to slide easily. You can also use a 50/50 mix of all-purpose flour and cornmeal. Work quickly when topping and launching the pizza. The longer the dough sits on the floured peel, especially with moist toppings, the more likely it is to stick. Give the peel a small shake before adding toppings to ensure the dough moves freely, and re-flour if needed.
Q: My oven doesn’t go above 450°F. Can I still get a crispy crust?
A: Yes, but you’ll need to be extra diligent. Maximize the preheat time for your pizza stone or steel (90 minutes if possible). Position it on the top rack, and once the pizza is in, use your broiler for the last 1-3 minutes of baking. Watch it constantly – the broiler is powerful and can burn toppings quickly, but it delivers that intense top-down heat needed for blistering and crisping the crust.
Q: What’s the ideal thickness for a crispy pizza crust?
A: For optimal crispness, aim for a thinner crust. A medium-thin crust about 1/8 to 1/4 inch thick before baking tends to crisp up beautifully in a home oven. Thicker crusts retain more moisture and take longer to cook through, increasing the risk of a soft or soggy result. If you prefer a thicker, chewier crust, you might need to adjust your expectations for extreme crispness or be even more meticulous with heat and moisture management.
Conclusion
Achieving that perfect, crackly pizza crust at home might seem like a dark art, but it’s fundamentally about intelligent heat management, smart tooling, and mindful preparation. Move beyond simply putting dough in an oven, and start thinking like a pizzaiolo. Super-high oven temperatures, a dedicated pizza stone or steel, strategic topping choices, a confident launch, and a post-bake cool-down are the pillars of a truly crispy homemade pizza. It took me years to refine these techniques, moving past the common pitfalls of soggy, lifeless crusts. Now, my Friday night pizzas are a crunchy, satisfying experience every time. Don’t settle for less – equip yourself with these pro-secrets and transform your homemade pizza night into a genuine pizzeria-quality affair. Your taste buds (and your family) will thank you.
Written by Mark Jenkins
Practical Skills & Decision-Making
A veteran journalist known for his ability to research thoroughly and present information clearly and concisely.
You Might Also Like
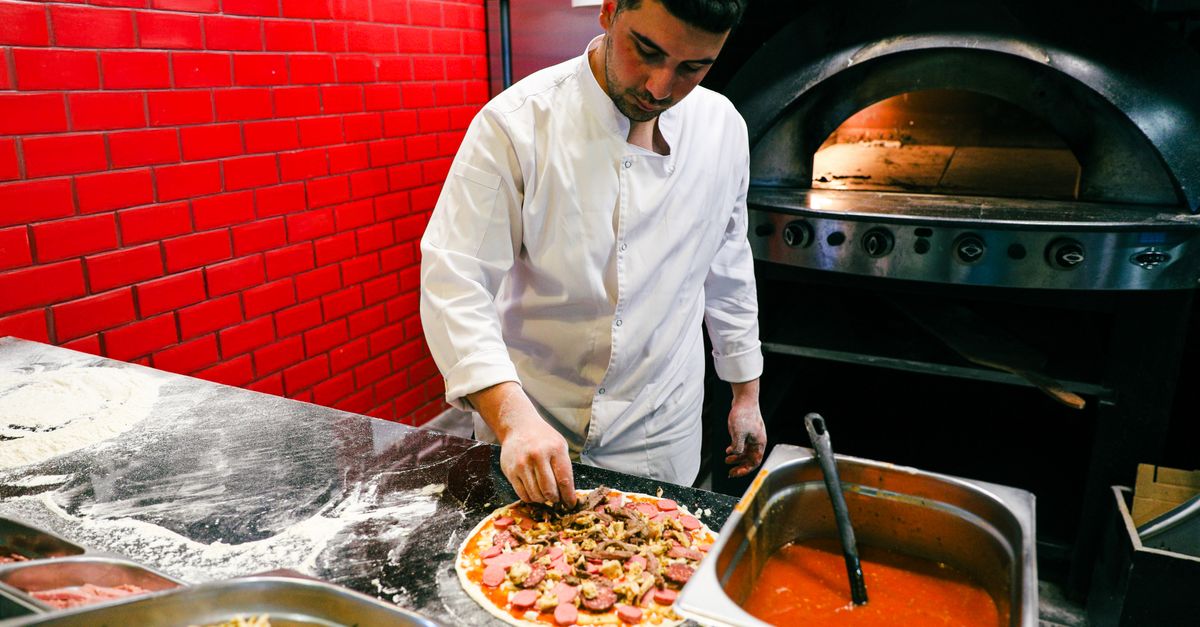
Why Your Homemade Pizza Lacks That Perfect Crisp (And The Pro Secrets That Deliver Pizzeria-Quality Crunch Every Time)
Unlock the secrets to truly crispy homemade pizza crust. Stop soggy bottoms and learn what works for pizzeria-quality crunch.
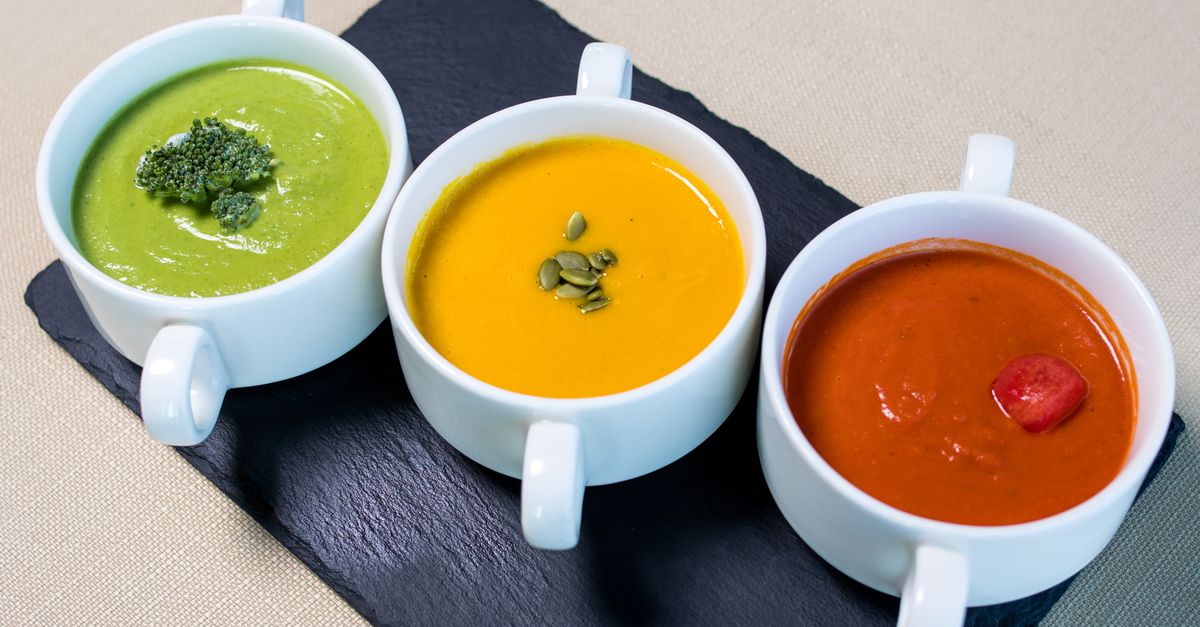
Why Your Homemade Soup Is Bland (And The Flavor Secrets That Changed Everything For Me)
Discover the overlooked reasons your homemade soup lacks flavor and the simple, impactful techniques that transform it into a culinary masterpiece.
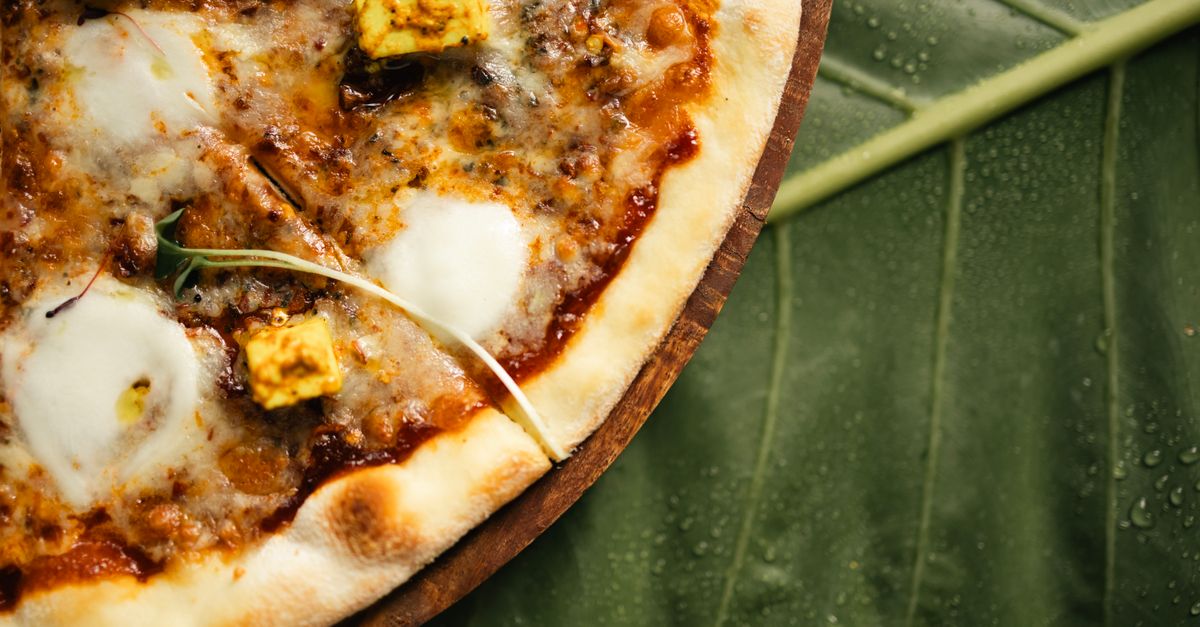
Why Your Homemade Pizza Isn't Crispy (And The Pro Secrets That Deliver Pizzeria-Quality Crunch Every Time)
Stop soggy pizza! Discover why homemade crusts lack crispness and learn the pro secrets for pizzeria-quality crunch every time.