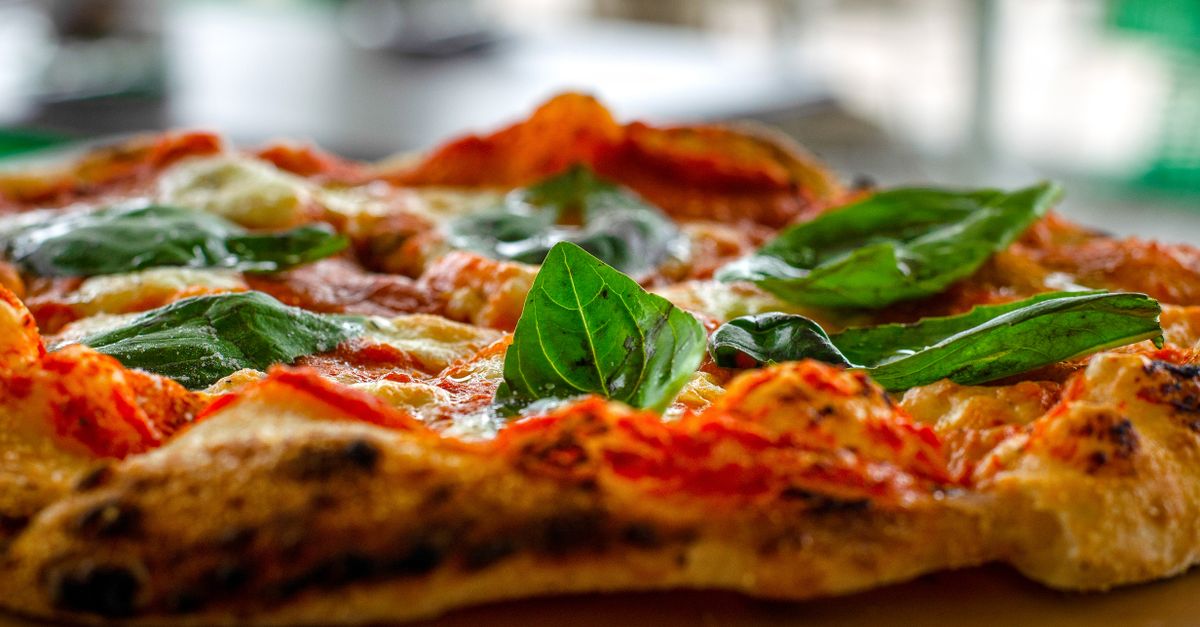
Why Your Homemade Pizza Crust Lacks That Perfect Crisp (And The Simple Pro-Secrets That Deliver Pizzeria-Quality Crunch Every Time)
For years, my homemade pizzas were a source of quiet frustration. The toppings were fantastic, the sauce was zesty, but the crust? It was always a little… limp. Chewy, yes, but that coveted, shatteringly crisp exterior and airy interior, the hallmark of a truly great pizza, remained stubbornly out of reach. I tried every recipe, every trick I found online, from using fancy flours to proofing for what felt like days. Nothing quite delivered that authentic Neapolitan crunch or the New York-style chew with a perfect crackle.
Then I realized I was overlooking some fundamental, almost counter-intuitive, principles. It wasn’t just about the recipe; it was about understanding the science and technique behind truly great crusts. The mistake I see most often, and one I made for far too long, is treating pizza dough like any other bread dough. It requires a different approach, a commitment to extreme heat, and a few subtle manipulations that make all the difference. What changed everything for me was focusing on three key areas: optimizing dough hydration, mastering oven heat, and understanding the crucial role of preheating and surface temperature. It’s not as complicated as it sounds, but it requires a mental shift from ‘baking bread’ to ‘forging pizza’.
Key Takeaways
- High hydration doughs, around 65-70%, create the ideal internal structure for a crispy-chewy crust.
- Achieving pizzeria-level heat (500-550°F) in your home oven is non-negotiable for proper crust development.
- A thoroughly preheated pizza stone or steel is essential for instantly crisping the bottom of your crust.
- Avoid overloading your pizza with toppings, which releases too much moisture and steams the dough.
The Hydration Conundrum: More Water, Better Crisp
When I first started making pizza, I instinctively gravitated towards lower hydration doughs, thinking a stiffer dough would be easier to handle and would somehow lead to a crisper result. I couldn’t have been more wrong. In my experience, the magic number for a home pizza dough aiming for that perfect crisp-chewy balance is between 65% and 70% hydration. This means for every 100 grams of flour, you’re using 65-70 grams of water.
Why does more water lead to a crisper crust? It’s counter-intuitive, right? High hydration doughs create more steam during the initial stages of baking. This steam expands rapidly, creating larger, more irregular air pockets (the cornicione or ‘rim’ you see on great pizzas). These larger air pockets are what give the crust its lightness and airy texture. Once the steam dissipates, the remaining structure is more open, allowing for more thorough dehydration and browning at high temperatures. A denser, lower-hydration dough, on the other hand, bakes into a tighter, breadier crumb that struggles to achieve that signature crispness.
The challenge with high hydration dough is that it’s stickier and harder to work with. The trick isn’t to add more flour on your counter – that defeats the purpose. Instead, learn to work with a lightly floured surface, using a bench scraper and quick, confident movements. Embrace the stickiness; it’s a sign you’re on the right track. For stretching, I swear by the ‘slap and fold’ method or even just gentle stretching over your knuckles, rather than pressing down heavily, which can deflate those precious air bubbles.
Unleash the Inferno: Maxing Out Your Oven’s Potential
Your home oven is likely the biggest bottleneck to achieving true pizzeria-quality crust. Professional pizza ovens reach temperatures upwards of 800-900°F (425-480°C), cooking a pizza in 60-90 seconds. A typical home oven maxes out around 500-550°F (260-290°C). This temperature difference is colossal.
The problem with lower temperatures is that the crust dries out before it has a chance to fully brown and crisp. You end up with a pale, chewy, or even rubbery bottom. To combat this, you need to exploit every degree your oven can offer. Preheat your oven to its absolute maximum temperature for at least 45 minutes to an hour, and ideally with a pizza stone or steel inside. I typically aim for 550°F and let it preheat for 60-75 minutes. This isn’t overkill; it’s essential.
Placement matters, too. For most home ovens, placing your pizza stone or steel on the highest rack setting (usually 6-8 inches from the top heating element) helps cook the top and bottom of the pizza more evenly. This positioning leverages the direct radiant heat from the top broiler element, mimicking the intense top-down heat of a wood-fired oven. Just be mindful not to burn the top of your pizza; some ovens require a quick broiler blast at the very end (more on that below).
The Surface Temperature Secret: Stone, Steel, and the Launch
Even if your oven’s air temperature is scorching, it means little for the bottom of your crust if your baking surface isn’t equally hot. This is where a pizza stone or, even better, a pizza steel comes into play. These dense materials absorb and retain a tremendous amount of heat. When your raw pizza hits that superheated surface, it causes an immediate burst of steam and rapid browning, leading to the coveted crisp bottom crust.
- Pizza Stone: A good quality cordierite pizza stone is a solid starting point. It heats up well and provides good thermal mass. The downside is they can take a long time to heat thoroughly (often 60+ minutes) and are prone to cracking if shocked with cold water or uneven heating.
- Pizza Steel: This is the game-changer for home pizza makers. Steel is significantly more conductive and has a higher heat capacity than stone, meaning it absorbs and transfers heat more efficiently and consistently. It also preheats faster (though I still recommend a long preheat) and is virtually indestructible. If you’re serious about crispy crusts, a pizza steel is the single best investment you can make.
Regardless of whether you use a stone or steel, the key is patience during preheating. Don’t assume your oven is hot enough just because the indicator light goes off. The internal temperature of the stone or steel will lag behind the air temperature. Trust me, that extra 15-20 minutes of preheat makes a profound difference to the bottom crust.
When launching your pizza onto the hot surface, speed and confidence are your friends. A wooden pizza peel dusted with semolina flour or regular flour prevents sticking. A hesitant launch gives the dough time to adhere to the peel, creating a messy situation. Practice with a naked dough or even a piece of parchment paper first if you’re new to using a peel.
The Broiler Boost and Topping Discipline
Sometimes, even with a high oven temperature and a screaming hot stone, the top of your pizza isn’t as browned and bubbly as the bottom. This is where a quick broiler boost can work wonders. In the final minute or two of baking, switch your oven to the broiler setting. Watch it constantly – the change happens fast, and you can go from perfectly charred to burnt in seconds. This direct overhead heat crisps up the edges of the crust and caramelizes the cheese beautifully.
Finally, and this is a common trap, do not overload your pizza with toppings. A thick layer of sauce and cheese, or too many wet vegetables, releases a lot of moisture during baking. This moisture essentially steams the crust, preventing it from crisping up. Think minimal: a light spread of sauce, a judicious amount of cheese (fresh mozzarella, drained, is fantastic), and a few high-quality toppings. In my experience, less is often more when it comes to a truly crispy pizza.
Making truly crispy homemade pizza crust isn’t about finding a magic ingredient; it’s about respecting the dough, understanding the power of extreme heat, and being patient with your equipment. Once you master these principles, your days of limp, lackluster crusts will be a distant memory, replaced by the satisfying crunch of pizzeria-quality perfection right from your own kitchen.
Frequently Asked Questions
Q: My pizza dough is too sticky to handle, even with high hydration. What am I doing wrong?
A: High hydration doughs are inherently sticky. The key is to use less flour on your work surface and hands than you think you need. Instead, lightly oil your hands or use a bench scraper for manipulation. Quick, confident movements and minimal contact time with your hands will prevent sticking. Also, ensure your dough has had sufficient time to relax after mixing (at least 30 minutes) – this allows the gluten to develop and makes it more extensible and less prone to tearing.
Q: How can I tell if my pizza stone/steel is hot enough?
A: The best indicator is time. Even after your oven reaches its set temperature, the stone or steel needs additional time to absorb and radiate enough heat. For a home oven at maximum temperature (500-550°F), I recommend preheating for at least 45 minutes to an hour, and ideally 75 minutes. Don’t rush this step. A thermal gun can give you a precise reading, but simply following the time guideline is usually sufficient for excellent results.
Q: My pizza toppings cook faster than the crust. How can I fix this?
A: This is a classic sign that your oven isn’t hot enough, or your pizza stone/steel isn’t adequately preheated. The high heat from the oven and the stone/steel should cook the crust quickly, allowing the toppings to heat and brown simultaneously without burning. Ensure you’re maximizing your oven temperature and preheating for a long duration. Also, avoid overloading your pizza with toppings, especially wet ones, which can steam the crust and slow down cooking.
Q: Can I use a baking sheet instead of a pizza stone or steel?
A: While you can use an inverted metal baking sheet, it won’t yield the same crispness as a stone or steel. Metal baking sheets have much lower thermal mass and conductivity, meaning they don’t retain or transfer heat as effectively. This results in a slower cooking bottom crust that is often less crisp. If a stone or steel isn’t an option, preheat the baking sheet thoroughly, just like you would a stone, but manage your expectations for the level of crispness.
Q: My crust is getting too dark on top before the bottom is fully crisp. What’s happening?
A: This usually means the top heating element (or broiler) is too close or too strong relative to the bottom heat. Try moving your pizza stone/steel to a slightly lower rack position to allow more distance from the top element. If your oven has a separate broiler, only use it for the very last minute or two, watching it intently. Some ovens simply have stronger top elements, requiring quicker baking times or slightly lower top heat (if adjustable).
Written by Mark Jenkins
Practical Skills & Decision-Making
A veteran journalist known for his ability to research thoroughly and present information clearly and concisely.
You Might Also Like
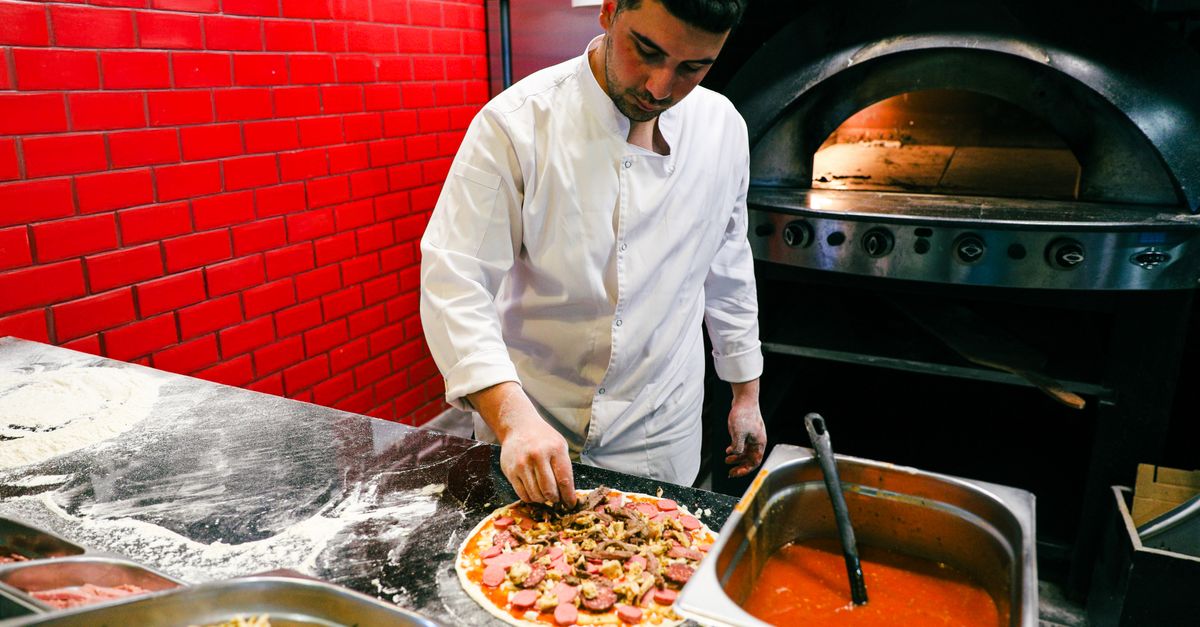
Why Your Homemade Pizza Lacks That Perfect Crisp (And The Pro Secrets That Deliver Pizzeria-Quality Crunch Every Time)
Unlock the secrets to truly crispy homemade pizza crust. Stop soggy bottoms and learn what works for pizzeria-quality crunch.
Why Your Homemade Soup Is Bland (And The Flavor Secrets That Changed Everything For Me)
Discover the overlooked reasons your homemade soup lacks flavor and the simple, impactful techniques that transform it into a culinary masterpiece.
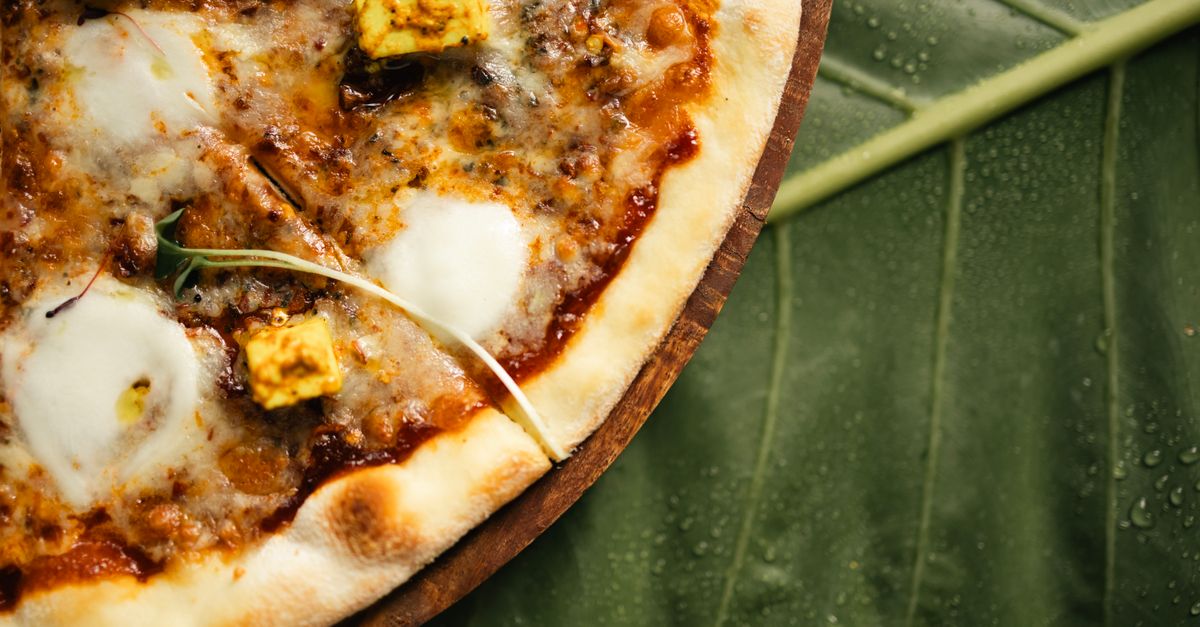
Why Your Homemade Pizza Isn't Crispy (And The Pro Secrets That Deliver Pizzeria-Quality Crunch Every Time)
Stop soggy pizza! Discover why homemade crusts lack crispness and learn the pro secrets for pizzeria-quality crunch every time.