
Why Your Homemade Pizza Crust Lacks That Perfect Chew (And The Simple Pro-Secrets That Deliver Pizzeria-Quality Results)
Every home baker dreams of that perfect pizza: a crisp, bubbly crust with a delightful chew, bursting with yeasty flavor, providing the ideal counterpoint to vibrant toppings. Yet, for many of us, the reality is often a pale imitation. We pull our pizzas from the oven, anticipating greatness, only to find a crust that’s either too hard, too soft, too bland, or disappointingly brittle. It’s a common frustration, a silent surrender to the belief that true pizzeria quality is unattainable without a wood-fired oven and decades of Italian nonna wisdom.
I’ve been there. For years, my homemade pizza crusts were… fine. Edible. But they never had that je ne sais quoi—that complex texture and depth of flavor that makes you crave another slice. I’d try different flours, tweak baking times, and still end up with something that just didn’t sing. The mistake I see most often, and one I made for far too long, is focusing solely on the recipe’s ingredients while overlooking the crucial, often counter-intuitive techniques that bakers and pizzaiolos swear by. What changed everything for me wasn’t a secret ingredient, but a series of small, deliberate shifts in my process, transforming my crust from merely a vehicle for toppings into a star in its own right. If your homemade pizza crust consistently disappoints, chances are you’re missing one or more of these fundamental, yet often overlooked, pro-secrets.
Key Takeaways
- Embrace long, cold fermentation (24-72 hours) to develop deep flavor and superior texture.
- Prioritize high-protein bread flour over all-purpose for a robust, chewy crumb.
- Hydrate your dough more than you think, aiming for a sticky, shaggy texture.
- Utilize a pizza steel or stone and preheat extensively to achieve rapid, intense heat transfer.
- Handle your dough gently during shaping to preserve the gas bubbles crucial for airiness.
The Overlooked Power of Cold Fermentation (And Why It’s Non-Negotiable)
Most home pizza recipes rush the fermentation process. They tell you to let your dough rise for an hour or two at room temperature, maybe until doubled. While this works for basic bread, it’s the primary reason your pizza crust lacks depth of flavor and chew. Professional pizzerias don’t just proof their dough for a couple of hours; they embrace long, cold fermentation, often for 24, 48, or even 72 hours. And sometimes longer!
In my experience, moving from a 2-hour room-temp rise to a 48-hour cold proof was the single most impactful change I made. The science behind it is fascinating: during cold fermentation, the yeast activity slows down considerably, allowing enzymes in the dough to break down complex carbohydrates into simpler sugars. This process doesn’t just create more nuanced, yeasty flavors (think sourdough-like tang without the sourdough starter); it also strengthens the gluten network, leading to a more elastic, extensible dough and a superior, chewier crumb. It also makes the dough much easier to digest.
Here’s how to implement it:
- Mix your dough: Combine your ingredients as usual, mixing until just combined and a shaggy dough forms. Don’t worry about perfect smoothness yet.
- First rise (short warm): Let it rest at room temperature for about 30-60 minutes. This gives the yeast an initial boost.
- Refrigerate: Lightly oil a large bowl, place your dough in it, turn to coat, cover tightly with plastic wrap (or an airtight lid), and refrigerate for at least 24 hours, up to 72 hours. The longer, the better for flavor development. You’ll notice bubbles forming and the dough slowly rising even in the cold.
- Bring to room temp & portion: About 2-3 hours before you plan to bake, remove the dough from the fridge. Gently divide it into individual portions (usually 250-300g per pizza) and shape them into tight balls. Place them on a lightly floured surface, cover with a damp cloth or plastic wrap, and let them come to room temperature. This is crucial for easy shaping.
This extended rest might seem like an extra step, but it’s largely hands-off. The flavor difference is so profound, you’ll wonder how you ever skipped it. Your patience will be richly rewarded.
The Flour Factor: Why All-Purpose is a Trap (And What to Use Instead)
Many home cooks reach for all-purpose flour for everything, including pizza. While versatile, all-purpose flour simply doesn’t have the protein content necessary to develop the strong gluten network required for that characteristic chew. Your crust ends up brittle, crumbly, or dense.
The secret to chewiness lies in higher protein content. Gluten is what gives dough its elasticity and ability to trap gas bubbles, leading to an airy, chewy texture. In my kitchen, switching from all-purpose to a high-protein bread flour (around 12.5-14% protein) made an immediate and noticeable difference. You can find this labeled as ‘bread flour’ in most supermarkets. For true aficionados, an even better option is Italian ‘00’ flour, specifically designed for pizza. It’s finely milled and has a unique protein structure that yields a crisp, delicate crust with an internal chew, typical of Neapolitan pizza.
- For robust chew: Opt for a good quality bread flour. Its higher protein content (typically 12-14%) creates stronger gluten, which means more structure and chew.
- For a lighter, crispier, yet still chewy crust (Neapolitan style): Seek out Italian ‘00’ flour. While its protein content might be slightly lower than some bread flours, its fine grind and specific protein type allow for incredible extensibility and a perfect balance of crispness and chew when baked at high temperatures.
Don’t skimp on the flour. It’s the foundation of your crust, and choosing the right type is like selecting the right lumber for a house – it dictates the final structure and quality.
Hydration is Key: Don’t Be Afraid of a Sticky Dough
This is another common pitfall: under-hydrating the dough for fear of stickiness. A drier dough is certainly easier to handle, but it sacrifices a tremendous amount in terms of texture. Low hydration results in a dense, hard, or crumbly crust.
The trick to an airy, open crumb and a delightful chew is high hydration. This means adding more water relative to the flour. Most home recipes hover around 60-65% hydration (600ml water per 1kg flour). I aim for 70-75% hydration for my pizza dough. This makes for a very sticky, shaggy dough initially, which can be intimidating. But it’s worth the learning curve.
High hydration dough allows for better gluten development, creates more steam during baking (which helps the crust puff up), and results in a more open, irregular crumb structure—the kind you see in artisan bread and good pizza. In my experience, the stickiness is manageable with the right technique, primarily utilizing a bit of oil or water on your hands for initial kneading or folding, and plenty of flour for dusting during shaping.
- Start gradually: If you’re new to high hydration, start by increasing your water content by just 5% from your usual recipe. See how it feels.
- Embrace stickiness: Don’t add extra flour during the initial mix or early kneading to make it less sticky. Instead, rely on stretch and folds (folding the dough over itself multiple times in the bowl with wet hands) to develop gluten without adding more flour.
- Autolyse: Consider an autolyse step: mix just the flour and water, let it rest for 20-30 minutes before adding yeast and salt. This allows the flour to fully hydrate and gluten to start forming without active kneading, making the dough more extensible and easier to handle later.
Your dough should feel soft, pliable, and a bit tacky—not dry and stiff. This softness is a prerequisite for that perfect chew.
The Heat Factor: Why Your Oven Isn’t Hot Enough (And The Tools That Fix It)
Even with the perfect dough, if you bake it in a lukewarm oven, you’ll end up with a pale, sad, brittle crust. Pizzerias bake at extremely high temperatures (700-900°F / 370-480°C) for just 90 seconds to a few minutes. This rapid, intense heat is what causes the crust to puff dramatically (oven spring), creates those beautiful charred spots (leopard-spotting), and results in a crisp exterior with a chewy interior.
Your home oven can’t reach those temperatures, but you can significantly bridge the gap with the right tools and technique.
- Invest in a pizza steel or thick pizza stone: A thin baking sheet or a cheap, porous stone simply won’t retain or transfer heat effectively enough. A pizza steel (my personal game-changer) is phenomenal because it conducts heat much more efficiently than stone, getting hotter and staying hotter. If a steel isn’t an option, a thick, high-quality pizza stone is the next best thing.
- Preheat, preheat, preheat: This is non-negotiable. Place your steel or stone on the top rack of your oven and preheat at your oven’s highest temperature (typically 500-550°F / 260-290°C) for at least one hour, preferably 1.5 hours. This ensures the steel/stone is fully saturated with heat, replicating a much hotter environment for your pizza.
- Use the broiler: For the last 5-10 minutes of your preheat, turn on your oven’s broiler. This superheats the top of the oven, mimicking the radiant heat of a wood-fired oven and helping to cook the toppings and crust simultaneously.
- Launch quickly: Once preheated, quickly launch your pizza onto the hot surface. The immediate transfer of intense heat to the dough’s bottom is what creates that crucial oven spring and crisp base.
Without sufficient, direct heat, your dough will dry out slowly rather than flash-bake, resulting in a cracker-like or leathery texture instead of that perfect chew.
Dough Handling: Gentle is Key for an Airy Crumb
You’ve done all the hard work: long fermentation, right flour, high hydration. Now, don’t ruin it with aggressive handling. Many home bakers tend to knead their dough too vigorously during shaping or flatten it out too much, expelling all the precious gas bubbles that developed during fermentation.
Those gas bubbles are the secret to an airy, open, and chewy crumb structure. Handle your dough too roughly, and you deflate them, leading to a dense, tough crust. What changed for me was learning the Neapolitan pizza stretching technique—it’s more about gentle coaxing than forceful rolling.
- Flour, don’t stick: Lightly dust your hands and work surface with flour. Use just enough to prevent sticking, but don’t incorporate excess flour into the dough, which will dry it out.
- Work from the center out: Place a dough ball on your floured surface. Starting from the center, gently press down with your fingertips, pushing air towards the edges to form a rim (the cornicione). The rim should remain untouched to create those puffy, airy bubbles.
- Stretch, don’t roll: Pick up the dough and let gravity help stretch it. You can gently rotate and stretch it over the backs of your hands, or lay it flat and stretch from the edges, working your way around the circle. The goal is to stretch it to your desired size while keeping the rim intact and as many internal bubbles as possible.
- Less is more: Don’t overwork the dough. A few gentle stretches should be enough. The dough’s elasticity from proper gluten development (thank you, high-protein flour and cold fermentation!) should allow it to stretch easily.
Think of your dough as a delicate balloon filled with air. Your job is to stretch the balloon gently without popping it, preserving the internal structure that leads to that delightful chew.
Frequently Asked Questions
Q: My pizza crust is always too hard. What am I doing wrong?
A: A hard crust is usually a sign of low hydration, over-baking, or insufficient heat. Increase your dough’s hydration to at least 70%, ensure your oven and pizza stone/steel are fully preheated for 60-90 minutes at maximum temperature, and try baking for a shorter time. A quick, intense bake prevents the crust from drying out and promotes chewiness.
Q: Can I use instant yeast for long cold fermentation?
A: Yes, absolutely. Instant yeast works perfectly for cold fermentation. Just ensure you use a smaller amount than you would for a quick rise (e.g., 0.5-0.7% of your flour weight for a 24-48 hour cold proof). The cold temperature will slow down the yeast activity to prevent over-proofing.
Q: My dough is too sticky to handle. Any tips?
A: Sticky dough is often a sign of good hydration! Don’t add extra flour to the main dough. Instead, use lightly wet hands or lightly oiled hands when doing stretch and folds in the bowl. When shaping, a generous but controlled dusting of rice flour on your peel and work surface can help prevent sticking without drying out the dough. Rice flour is naturally non-absorbent and provides a good barrier.
Q: What’s the best temperature for cold fermentation?
A: The ideal temperature for cold fermentation is usually between 38-40°F (3-4°C). This is the standard temperature for most home refrigerators. This temperature significantly slows yeast activity while still allowing enzymes to work their magic on flavor and gluten development.
Q: How do I get those charred ‘leopard spots’ on my crust?
A: Leopard spots, or cornicione maculato, are a hallmark of high-temperature baking. To achieve them at home, you need to use a pizza steel or stone that has been preheated for a long time at your oven’s maximum temperature. Using the broiler for the last 5-10 minutes of preheating, and then turning it back on for a minute or two after the pizza has baked for a few minutes, can help create that intense top heat for spotting and rapid crust development. Be careful not to burn the toppings!
Conclusion
Achieving pizzeria-quality pizza crust at home isn’t about magic; it’s about understanding and respecting the process. The journey from a brittle, bland crust to one with a perfect chew and rich flavor lies in a few key, often counter-intuitive techniques: patient cold fermentation, choosing the right high-protein flour, embracing higher hydration, maximizing oven heat, and gentle dough handling. Each of these elements contributes significantly to the final texture and taste, transforming your homemade pizza from good to truly exceptional. Stop settling for ‘fine’ and start applying these pro-secrets. Your next pizza night is about to be a revelation, and you’ll taste the difference in every perfectly chewy, flavorful bite. Now, go forth and bake some amazing pizza!
Written by Mark Jenkins
Practical Skills & Decision-Making
A veteran journalist known for his ability to research thoroughly and present information clearly and concisely.
You Might Also Like
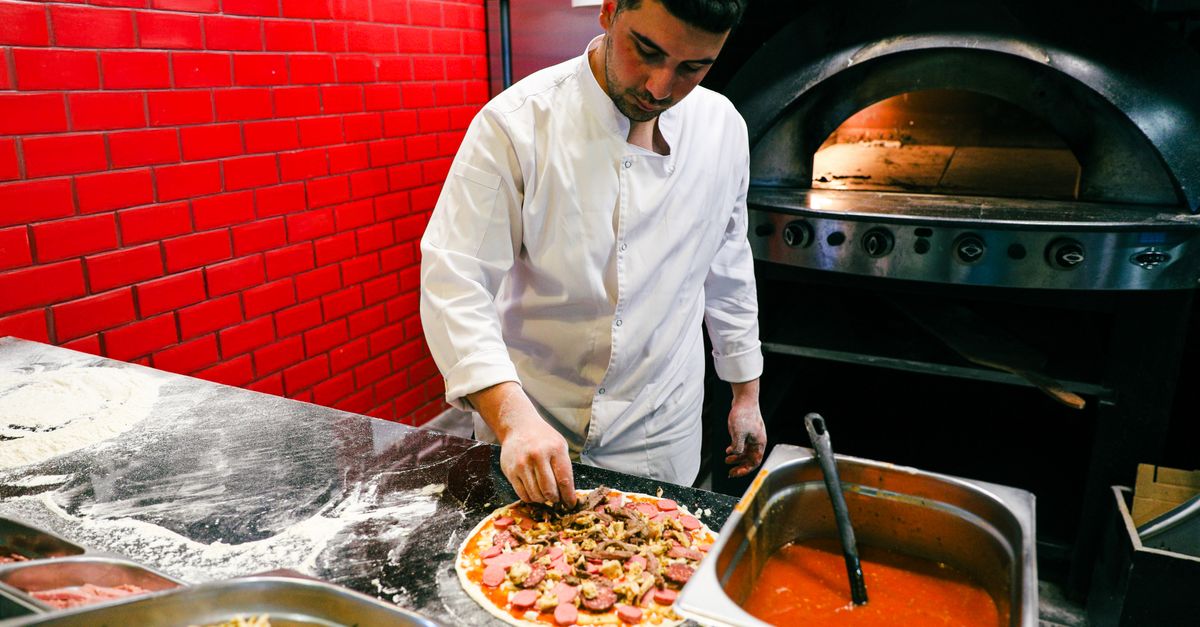
Why Your Homemade Pizza Lacks That Perfect Crisp (And The Pro Secrets That Deliver Pizzeria-Quality Crunch Every Time)
Unlock the secrets to truly crispy homemade pizza crust. Stop soggy bottoms and learn what works for pizzeria-quality crunch.
Why Your Homemade Soup Is Bland (And The Flavor Secrets That Changed Everything For Me)
Discover the overlooked reasons your homemade soup lacks flavor and the simple, impactful techniques that transform it into a culinary masterpiece.
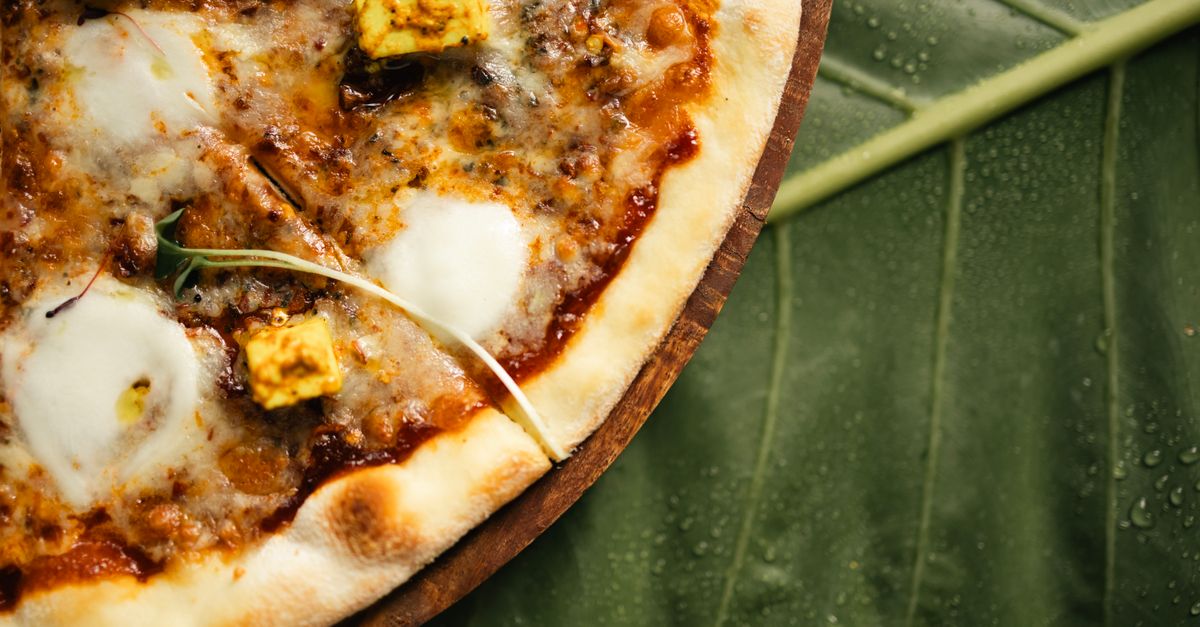
Why Your Homemade Pizza Isn't Crispy (And The Pro Secrets That Deliver Pizzeria-Quality Crunch Every Time)
Stop soggy pizza! Discover why homemade crusts lack crispness and learn the pro secrets for pizzeria-quality crunch every time.