
Why Your Homemade Pizza Crust Lacks That Perfect Chew (And The Simple Pro-Secrets That Deliver Pizzeria-Quality Results)
Every home cook dreams of pulling a pizza out of their oven with a crust that’s perfectly golden, crisp on the outside, yet soft and satisfyingly chewy on the inside. You know, the kind you get from your favorite local pizzeria, with those irregular, airy bubbles and a slight tang. If you’re like me, you’ve probably experimented with countless recipes, tweaked hydration levels, and even tried different flours, only to end up with a crust that’s either too dense, too cracker-like, or just… well, boring. It’s disheartening when your delicious toppings sit atop a foundation that just doesn’t deliver.
The truth is, achieving that ideal chew isn’t just about following a recipe; it’s about understanding the science behind the dough and applying a few counter-intuitive techniques that most home bakers overlook. I spent years chasing that elusive crust, making every mistake in the book – from under-kneading to over-proofing – until I started incorporating these pro-secrets. What changed everything for me wasn’t a magic ingredient, but a deeper appreciation for time, temperature, and technique. If you’re tired of mediocre homemade pizza and ready to elevate your pie to pizzeria standards, keep reading.
Key Takeaways
- Embrace high hydration dough (70-75%) for superior chew and irregular crumb.
- Utilize a long, cold fermentation (24-72 hours) to develop complex flavors and structure.
- Incorporate ‘stretch and fold’ techniques over aggressive kneading for gentle gluten development.
- Use high heat and a preheated pizza stone or steel for rapid cooking and proper crust development.
The Hydration Hurdle: Why Your Dough is Too Stiff
The single biggest mistake I see most home pizza makers make is using dough that’s simply too low in hydration. Many beginner recipes call for a hydration level around 60-65% (meaning 60-65 grams of water for every 100 grams of flour). While this makes a dough that’s easy to handle, it invariably leads to a denser, less chewy crust. Professional pizzerias, especially those making Neapolitan-style pizzas, often work with doughs in the 70-75% hydration range.
Think of it this way: more water means more steam is generated during baking, which creates those beautiful, airy pockets and a lighter, chewier texture. A stiffer dough restricts this expansion. The first time I tried pushing my hydration to 72%, the dough felt like a sticky, unmanageable mess. I almost gave up. But with practice, and by accepting that sticky dough is good dough for chew, I learned to work with it. It requires a gentler touch and confidence, but the payoff is immense. You’ll notice the difference immediately in the oven – a more vigorous rise, larger bubbles, and a far more satisfying mouthfeel.
The Patience Principle: Unlocking Flavor and Structure with Cold Fermentation
Another critical element often rushed in home kitchens is fermentation. Most recipes tell you to proof for an hour or two at room temperature. While this will get your dough to rise, it does little for flavor development or structural integrity. The secret to a truly great crust, one with that complex, slightly tangy flavor and robust chew, lies in a long, slow, cold fermentation.
When you ferment dough in the refrigerator for 24, 48, or even 72 hours, several magical things happen. The yeast slowly consumes the sugars, producing more flavorful byproducts. Enzymes break down complex starches into simpler sugars, enhancing browning and flavor. Crucially, the gluten network develops slowly and gently, becoming incredibly elastic and strong without aggressive kneading. This extended fermentation is what gives the crust its characteristic irregular, open crumb structure and the ability to hold up to toppings without becoming soggy.
In my experience, a 48-hour cold ferment is the sweet spot for balance between flavor development and practicality. I prepare my dough on a Friday, let it cold ferment until Sunday, and my weekend pizza nights were transformed from good to genuinely exceptional. It takes planning, but the minimal active effort is worth every moment of anticipation.
The Gentle Touch: Gluten Development Without the Grind
Many home bakers, myself included in the early days, think that endless kneading is the key to strong gluten. For a chewy pizza crust, however, a more gentle approach is often superior, especially with high-hydration doughs. Over-kneading can actually tighten the gluten too much, leading to a tough, dense crust instead of a light, airy, chewy one.
Instead of pounding away at the dough for 10-15 minutes, adopt the ‘stretch and fold’ technique. This involves gently stretching a portion of the dough up and folding it over itself, then rotating the bowl and repeating. Do this every 30-60 minutes during the initial room temperature proofing phase (after mixing but before cold fermenting). Four to five sets are usually enough. This method develops gluten gradually, allowing it to relax and align, resulting in a more extensible and elastic dough. The dough becomes stronger and smoother with minimal effort, developing that crucial structure for chewiness without making it resistant or rubbery.
The Heat Factor: Oven Setup for Pizzeria Perfection
Even with a perfectly hydrated, fermented, and developed dough, you won’t get that signature chew without extreme heat. Home ovens typically max out at 500-550°F (260-290°C), far below a professional pizza oven’s 800-900°F (425-480°C). The goal is to simulate that intense, rapid heat as much as possible.
This means investing in a pizza stone or steel. Forget baking sheets. A preheated stone or steel at the highest possible oven temperature is non-negotiable. Place it on the top or second-to-top rack and preheat for at least an hour, preferably 90 minutes. This creates a scorching hot surface that instantly cooks the bottom of the crust, initiating a rapid rise (oven spring) and preventing sogginess, while the intense ambient heat cooks the top and melts the cheese.
When I finally switched from just throwing pizza onto a cold baking sheet to using a preheated steel, the difference was astounding. The crust browned beautifully, crisped up on the bottom, and achieved that airy, chewy interior I had been chasing. It’s the closest you’ll get to a wood-fired experience in a conventional home oven.
Frequently Asked Questions
Q: My dough is too sticky at 70%+ hydration. How do I handle it?
A: Embrace the stickiness! High hydration is key for chew. Instead of adding more flour, lightly oil your hands and work surface. Use a bench scraper to help with stretches and folds. The dough will become less sticky and more manageable as the gluten develops.
Q: Can I still get a good chew without a long cold ferment?
A: You can get a decent chew, but not the complex flavor and open, irregular crumb of a cold-fermented dough. If time is very limited, try a slightly longer room-temperature bulk ferment (2-3 hours) with stretch and folds, followed by a shorter 4-8 hour cold proof. It won’t be quite the same, but it’s an improvement over a quick 1-hour proof.
Q: What kind of flour is best for a chewy crust?
A: A bread flour with a higher protein content (around 12-14%) is generally best for developing strong gluten, which contributes to chewiness. Italian ‘00’ flour is excellent for Neapolitan style pizza, but a good quality unbleached bread flour works wonderfully too.
Q: My pizza stone/steel doesn’t seem hot enough. Any tips?
A: Ensure you’re preheating it for at least 60-90 minutes at your oven’s highest temperature (500-550°F or 260-290°C). You can also switch your oven to the broiler setting for the last 5-10 minutes of preheating just before launching the pizza, but watch it carefully.
Q: How do I get those big, irregular bubbles in the crust?
A: High hydration, long cold fermentation, and gentle handling (stretch and folds) are the main factors. Avoid degassing the dough too much when shaping. Try to push the air to the cornicione (crust edge) rather than flattening it out entirely.
Conclusion
Making truly great homemade pizza crust isn’t about finding a magic ingredient or a secret recipe. It’s about understanding and respecting the process. By embracing higher hydration, committing to a long cold fermentation, treating your dough with a gentle touch, and maximizing your oven’s heat, you’ll unlock the secrets to that coveted pizzeria-style chew. It takes a bit of planning and a shift in technique, but the satisfaction of pulling a perfectly chewy, flavorful pizza from your own oven is unparalleled. Start by upping your water content and giving your dough more time in the fridge – you’ll taste the difference, and your pizza nights will never be the same.
Written by Mark Jenkins
Practical Skills & Decision-Making
A veteran journalist known for his ability to research thoroughly and present information clearly and concisely.
You Might Also Like
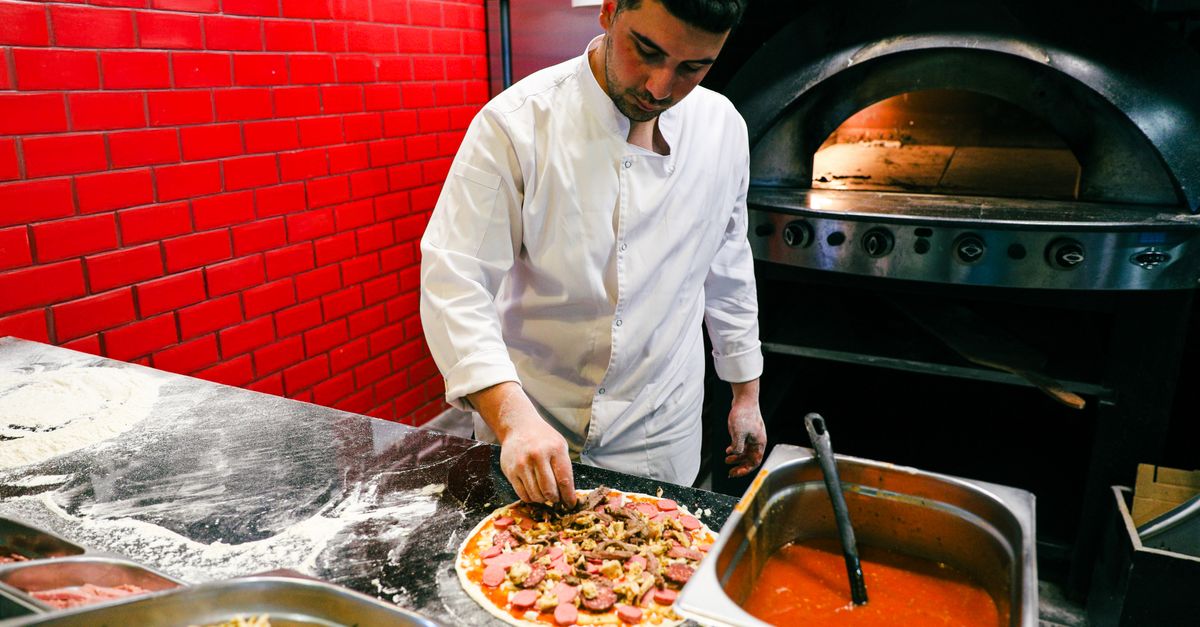
Why Your Homemade Pizza Lacks That Perfect Crisp (And The Pro Secrets That Deliver Pizzeria-Quality Crunch Every Time)
Unlock the secrets to truly crispy homemade pizza crust. Stop soggy bottoms and learn what works for pizzeria-quality crunch.
Why Your Homemade Soup Is Bland (And The Flavor Secrets That Changed Everything For Me)
Discover the overlooked reasons your homemade soup lacks flavor and the simple, impactful techniques that transform it into a culinary masterpiece.
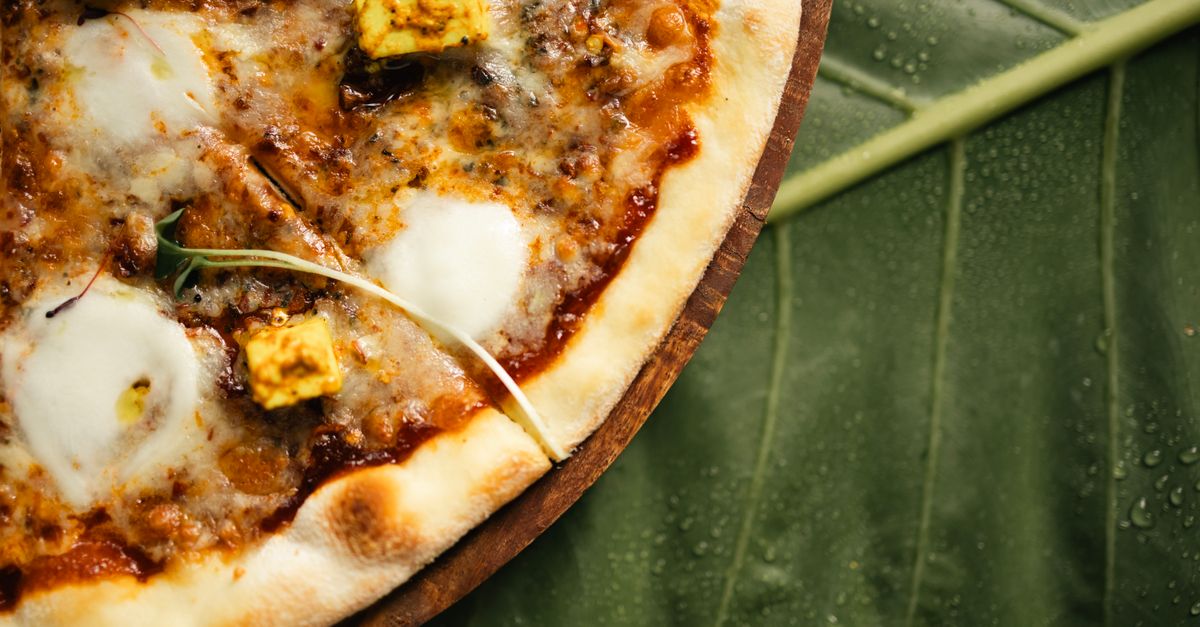
Why Your Homemade Pizza Isn't Crispy (And The Pro Secrets That Deliver Pizzeria-Quality Crunch Every Time)
Stop soggy pizza! Discover why homemade crusts lack crispness and learn the pro secrets for pizzeria-quality crunch every time.